Get creative with flash photography and learn how to shoot stunning portraits on a budget.
You don’t always need a dedicated studio space or a set of expensive flashes to create polished, professional-looking studio shots. With a few simple pieces of kit and a space to shoot, anyone can set up a basic studio in their own home. Here we explain how to do just that with the minimum of both kit and expense. Along the way, we’ll also explore some of the fundamentals of studio photography, such as utilizing light modifiers and setting up your flash exposure. With simple skills and the right gear, you can craft all kinds of stunning images, from high-end portraiture to polished product shots, still-life art and more.
1. Basic kit list
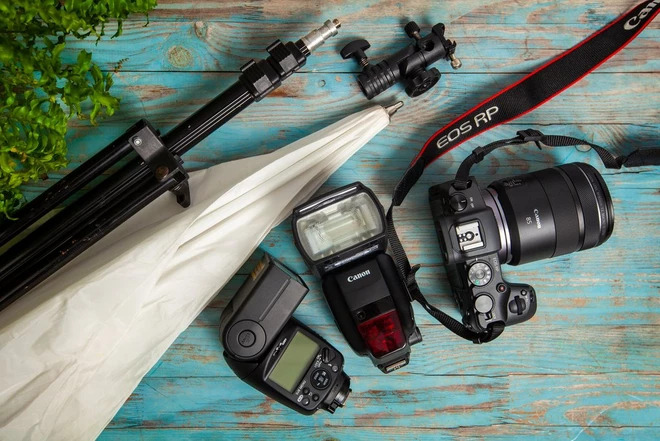
Getting started with home studio photography requires a few simple pieces of kit – here we have two Canon Speedlites – a 470EX-AI and 600EX II-RT, a Canon EOS RP camera with an RF85mm F2 Macro IS STM lens, a light stand, a white shoot-through umbrella and an umbrella holder.
To trigger your off-camera flash, use either a second Canon Speedlite flash, a wireless flash trigger or (if compatible) your camera’s pop-up flash.
A simple home studio setup like this won’t break the bank, and it can be packed down to save on space. Essentially, aside from your camera, you need one or two Speedlites that you can position and fire off-camera. A light stand is ideal, but you can also use a spare tripod (the plastic stand that comes with most Speedlites can be screwed onto a tripod thread) to hold your flash. A simple white umbrella is another inexpensive yet effective piece of kit for getting flattering light. You’ll need a means of attaching the umbrella to the stand, such as an umbrella holder. Finally, you’ll need to be able to fire the off-camera flash using wireless triggers. Alternatively, if you have two compatible Speedlites, you can fix one to the camera’s hotshoe and use it to fire the other one. This has the added advantage that you can control the power of the off-camera flash remotely. If your Canon camera has a compatible pop-up flash, you can also use this to trigger and control off-camera Canon Speedlites.
2. Choosing a space
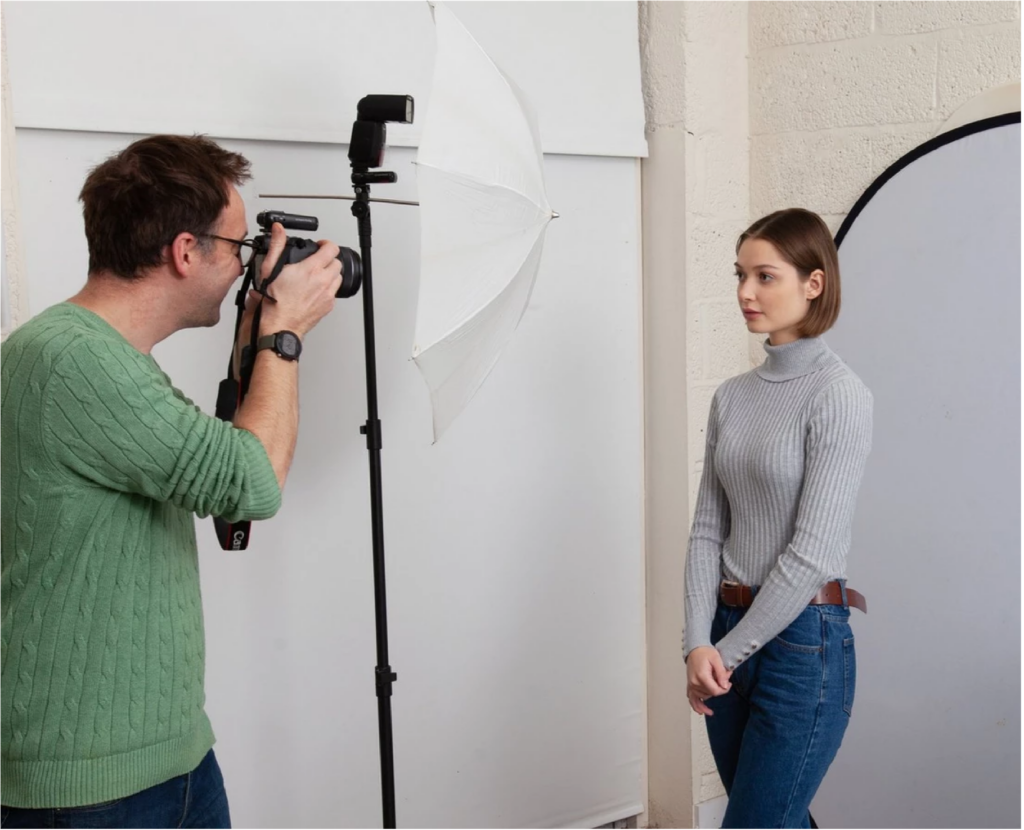
Pick a space with a large bright wall, or use a makeshift backdrop for a simple, clean background.
A room with a plain white or cream wall is ideal for a home studio set-up. If the walls aren’t plain, you could always pin up a white sheet or, even better, invest in a pop-up backdrop like this one. When choosing a room to shoot in, a high ceiling is helpful as it will allow you to elevate your light for top-down lighting on the subject’s face – which tends to be more pleasing to the eye. Be aware that light takes on some of the colour of every surface it bounces off, so if the walls have a strong colour, they may tint the light falling on your subject.
Don’t restrict yourself to one type of room though. If you’ve got some photogenic stairs then these can work as a great location for group shots, while shooting looking down on your subject can produce some really nice and relaxed portrait shots.
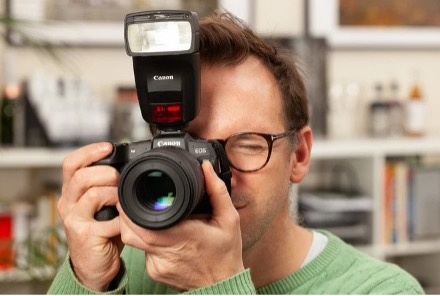
3. Pick a portrait lens
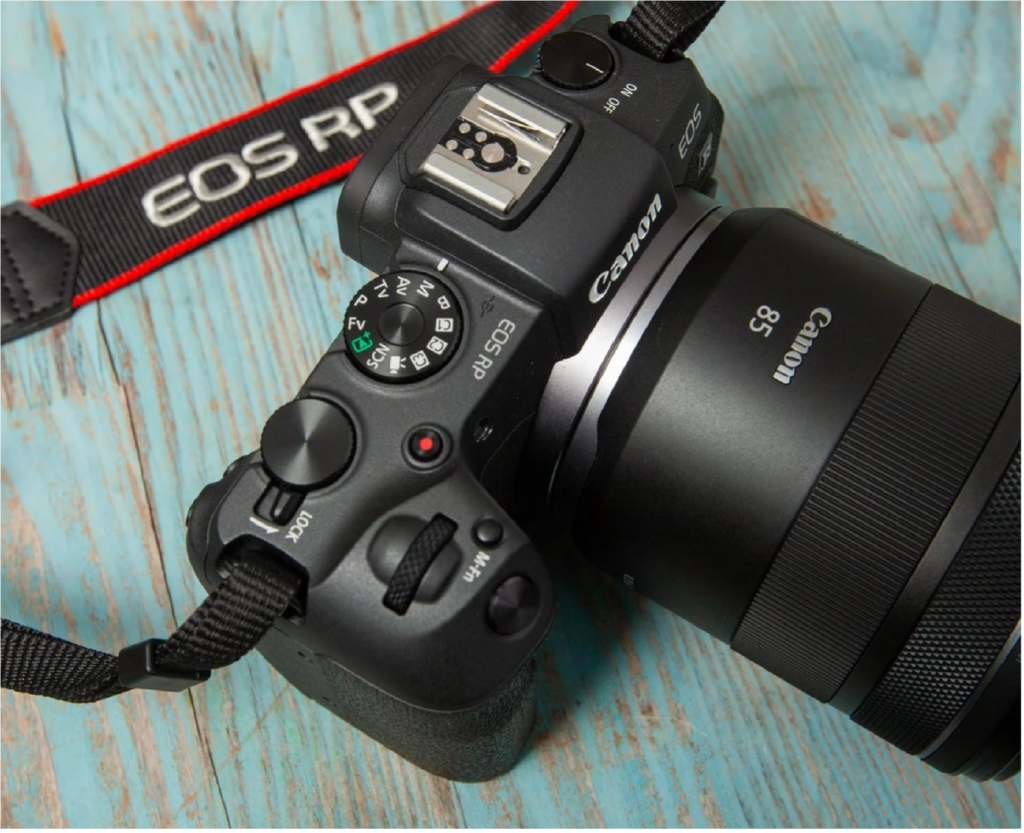
An 85mm lens, such as the RF85mm F2 Macro IS STM used here, is ideal for portraits because the focal length offers a pleasing perspective for faces.
Different focal length lenses can have a marked effect on the look of your subject. A wide-angle lens may exaggerate a person’s facial features by unnaturally elongating the nose and the forehead – especially if used for close-ups. Exaggerated perspectives can sometimes be put to good effect, but in general longer focal lengths tend to be more flattering. So if you’re using a kit zoom lens then step back and zoom to the longer end of the lens. If you plan on shooting lots of portraits, then consider using a dedicated portrait lens. A focal length of 85mm (or a 50mm lens on a crop sensor camera) is regarded as the perfect lens for portraits because of the way it captures a face in the most flattering proportions.
4. Enlarge your light source
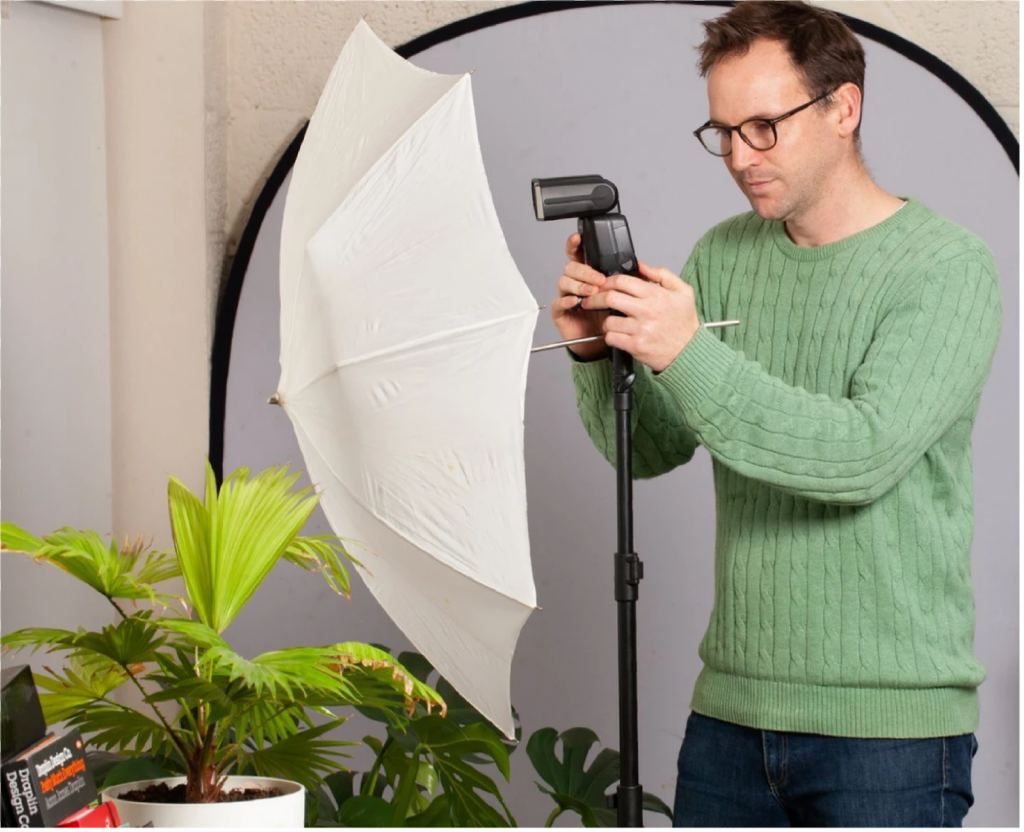
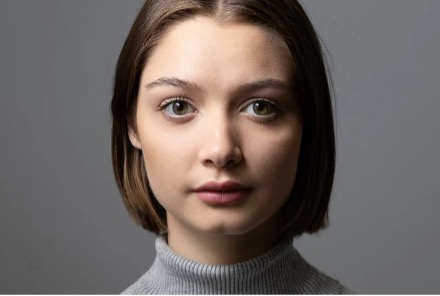
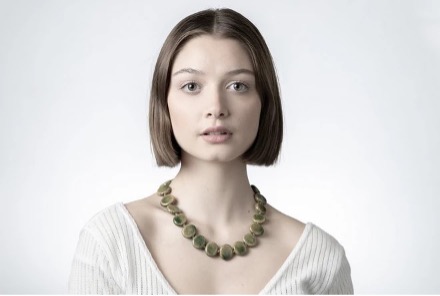
A white shoot-through umbrella is inexpensive, versatile and ideal for beginners who want to soften the light when shooting portraits.
Like a bare lightbulb, your Speedlite flash is a relatively small source of light. So the light it produces will be hard-edged, resulting in hard shadows and bold contrast. Often with portraits, you’ll want to diffuse the light so that it falls more softly across a face – a modifier will help you achieve this. Much like a large window, a simple modifier such as an umbrella or softbox will enlarge your source of light, enabling it to wrap around your subject and gently fill in the shadows.
You can either angle the umbrella towards your subject or have it facing away to bounce light back at them. Often with portraits it works best to bring the light in fairly close to the face, as this enlarges the light source in comparison to the subject.
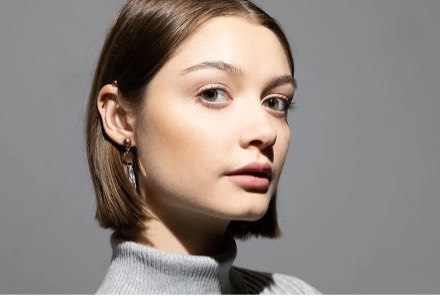
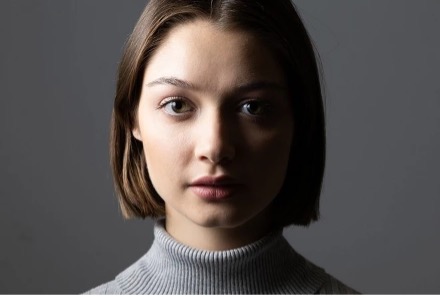
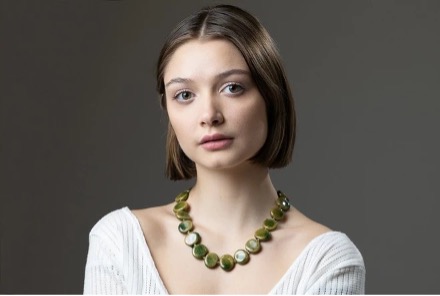
The shadows are harder in this image because the Speedlite has been used bare. Taken on a Canon EOS RP with an RF85mm F2 Macro IS STM lens at 1/100 sec, f/11 and ISO100.
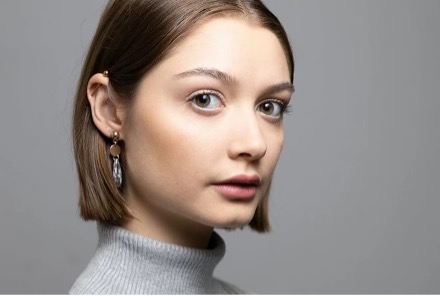
Think about your light source– for example, direct sun, shade, indoors or from a window. Position your subject to make the most of natural light. If the light is too bright, simply stop down your aperture or quicken your shutter speed. If the weather is overcast, why not try using an artificial light source indoors or find out more about homemade lighting hacks. Taken on a Canon EOS RP with an RF85mm F2 Macro IS STM lens at 85mm, 1/100 sec, f/5.6 and ISO100.
5. Setting exposure and flash power
Set your manual exposure first then tailor your flash power to suit it.
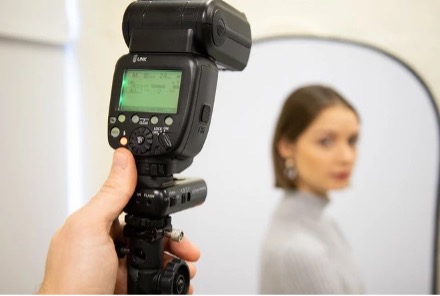
Set your Canon Speedlite flash to Manual (M) mode – you may have to experiment with different powers but start with ¼.
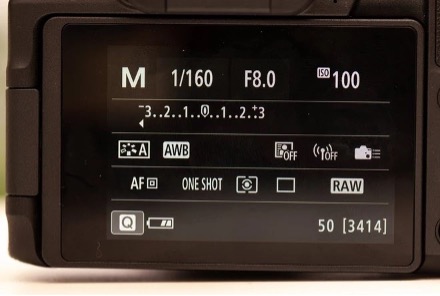
Using flash gives you a tremendous amount of freedom over your exposure. You can set your flash to overpower the ambient light or make the two work in harmony. Here’s a simple stock setting for your flash exposure: set your flash to Manual (M) and choose a power – ¼ power is a good starting point. As for exposure settings, switch your camera to Manual exposure mode and set your shutter speed to 1/160 sec, or whatever is the max flash sync speed.
Set the ISO to 100 and Aperture to f/8. Take a test shot and then simply adjust the flash power until the light over the face looks right. You can change the power of the flash either by adjusting the output or by moving the light closer to or further away from your subject.
6. Positioning your flash
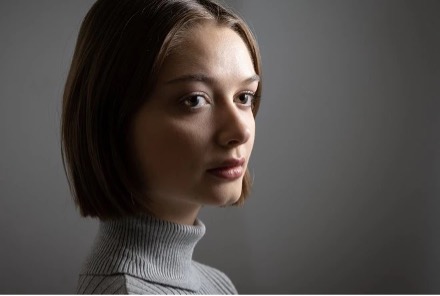
Placing the light to one side creates ‘split’ lighting and plunges the opposite side into the shade. Taken on a Canon EOS RP with an RF85mm F2 Macro IS STM lens at 1/100 sec, f/8 and ISO100.
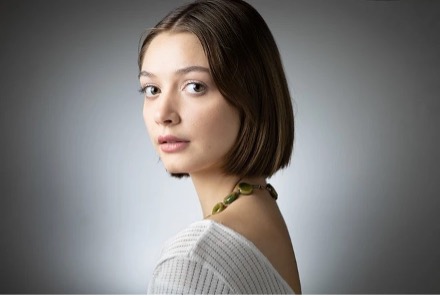
Angling the flash down from above left results in ‘Rembrandt lighting’, with an attractive triangle of light on the right cheek. Taken on a Canon EOS RP with an RF85mm F2 Macro IS STM lens at 1/100 sec, f/8 and ISO100.
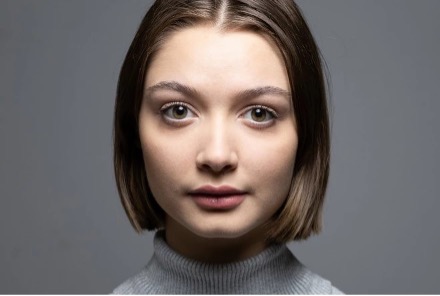
Firing the flash directly above the face gives us ‘butterfly’ lighting and accentuates the cheekbones. Taken on a Canon EOS RP with an RF85mm F2 Macro IS STM lens at 1/100 sec, f/8 and ISO100.
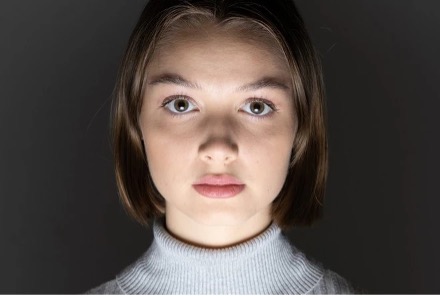
Under-lighting from below looks unnatural, as we’re used to seeing daylight coming from above. Taken on a Canon EOS RP with an RF85mm F2 Macro IS STM lens at 1/100 sec, f/8 and ISO100.
One of the best things about using off-camera flash for portraiture is the control it gives you. Where you place it has a dramatic effect on the look of the face.
7. Experiment with ratios
Backlighting a subject from behind enables you to create an atmospheric, low-key portrait. Taken on a Canon EOS RP with an RF85mm F2 Macro IS STM lens at 1/100 sec, f/8 and ISO100.
With a second flash placed behind our subject you can create a spotlight on the backdrop. Taken on a Canon EOS RP with an RF85mm F2 Macro IS STM lens at 1/100 sec, f/5 and ISO100.
If you want to take your flash photography to the next level, introduce a second flash and experiment with ratios. Try training one flash on the backdrop and the other on the subject. Set to a low output, the rear flash will create a subtle spotlight on the background. By contrast, set to a high output the background light can blow out the backdrop for a high-key look. Of course, you can also use the second flash to lift parts of your subject. For instance, if you angle it back towards them from behind you, you can create an attractive edge light along the outline of the figure.
A second flash placed behind your subject can blow out the flash for a high-key look. Taken on a Canon EOS RP with an RF85mm F2 Macro IS STM lens at 1/100 sec, f/5 and ISO100.
Using a second flash placed behind your subject, you can also angle the flashback at the subject for a hair or edge light. Taken on a Canon EOS RP with an RF85mm F2 Macro IS STM lens at 1/100 sec, f/4.5 and ISO100.
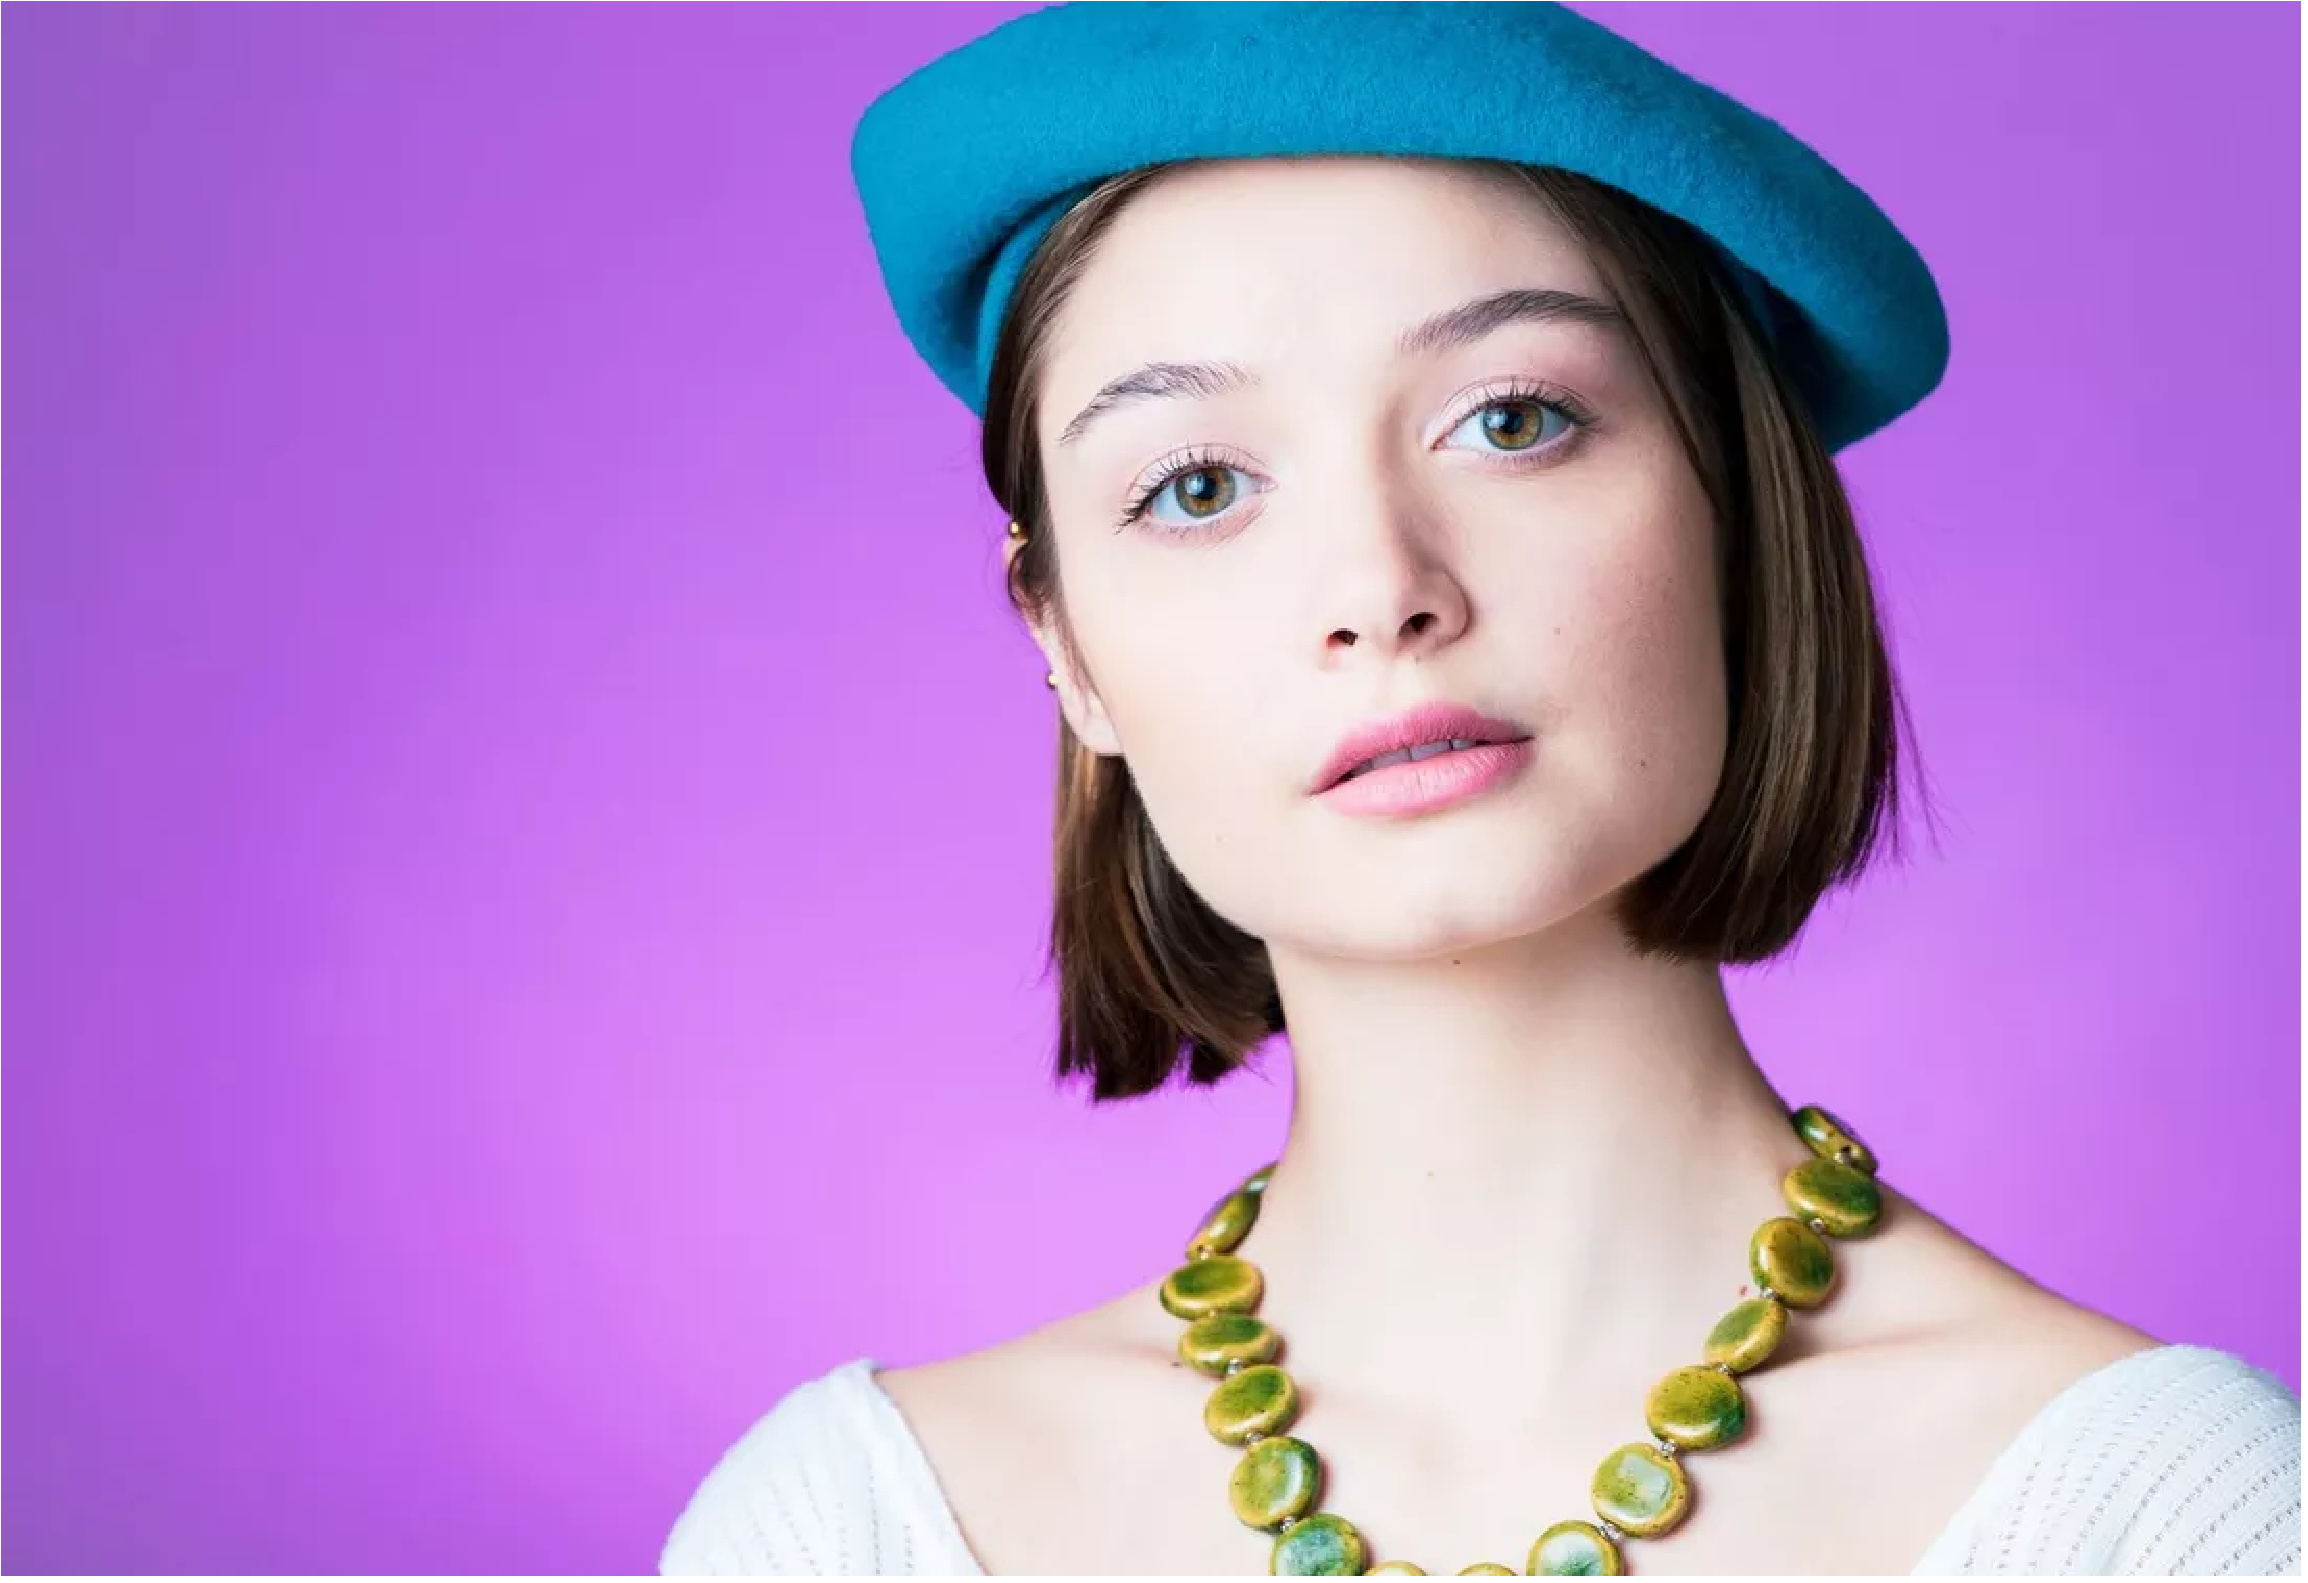
8. Use gels
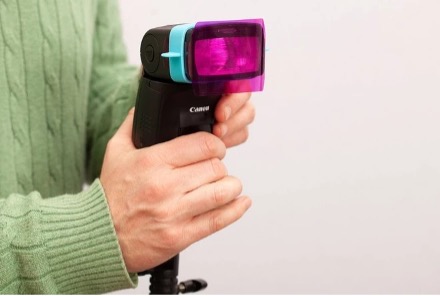
A Speedlite fitted with a pink gel is placed on a stand directly behind the subject here and angled towards the backdrop.
Using a coloured gel is a simple and effective way of inserting some vibrance into your shot. It can also add contrast to an image if you use colours that clash with your subject. Taken on a Canon EOS RP with an RF85mm F2 Macro IS STM lens at 1/100 sec, f/5 and ISO100.
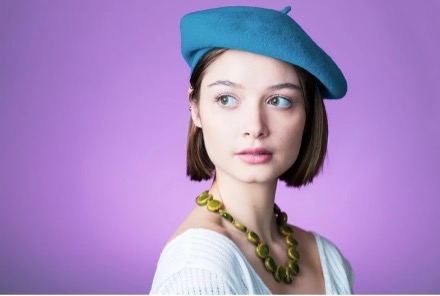
For bold colours try adding gels to your flash. These inexpensive pieces of coloured acetate can be fastened in front of your flash and used either to tint the light hitting your subject or to create bold backdrops for your studio shots. When experimenting with colours think about how you can use props and outfits to complement the colour scheme, and use a colour wheel to determine what might look best. Here, a bold blue beret adds a secondary splash of colour to the shot. You’ll be sure to find lots of props and accessories around the house that can be used to add interest and character to your own portraits, while you’ll also be able to fashion your own light modifiers as well.