Painting with light is not as tricky as you might think and requires little specialist equipment. Have fun experimenting and create spectacular images with these tips and tricks.
Light is the most essential component of photography, but the fun doesn’t have to stop when the sun goes down. Using a torch or other light source, you can go out after dark and paint your own pictures by moving lights around to create any shapes that take your fancy. You can’t see these shapes in real time but by using a long exposure, you can record them in your camera to create unique images. The technique is often referred to as ‘light painting’ or ‘painting with light’.
What is light painting?
There’s magic in movement. You may have seen photographs that feature light trails. These are usually based on night-time traffic with cars and other vehicles leaving red and white trails of light flowing through an image as they drive along roads. Light painting uses the same idea but takes it to a more creative level, putting you in the driving seat.
As with light trails, you’ll need to use a long exposure that gives enough time to capture all the movement of the light source. The movement itself can be anything you want it to be, using white or coloured lights to paint your picture.
What do you need for successful light painting?
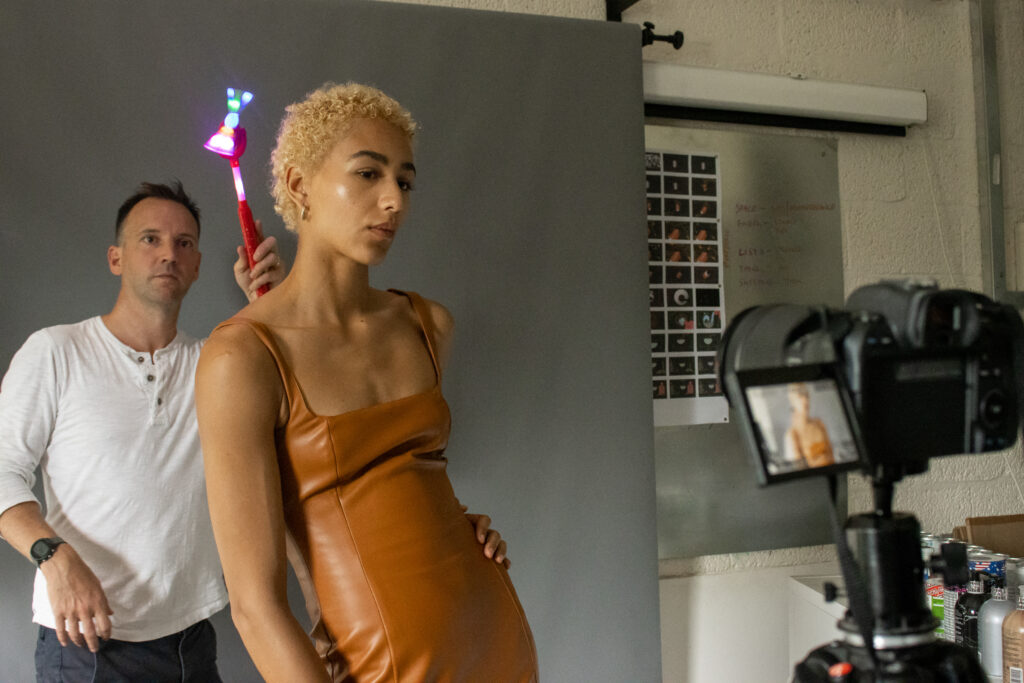
Having a tripod can really help when shooting long exposures as you will avoid any camera shake, and the subject or background of the image will stay sharp.
Although light painting is predominantly about movement, you’ll usually want a dimly lit backdrop to look sharp if featured in an image. Therefore, you’ll need to mount your camera on a tripod or other stable platform. If your lens features optical Image Stabilisation (IS), it’s generally best to switch this off for long exposures. The latest cameras can detect when a camera has been positioned on a tripod and will switch off the IS for you.
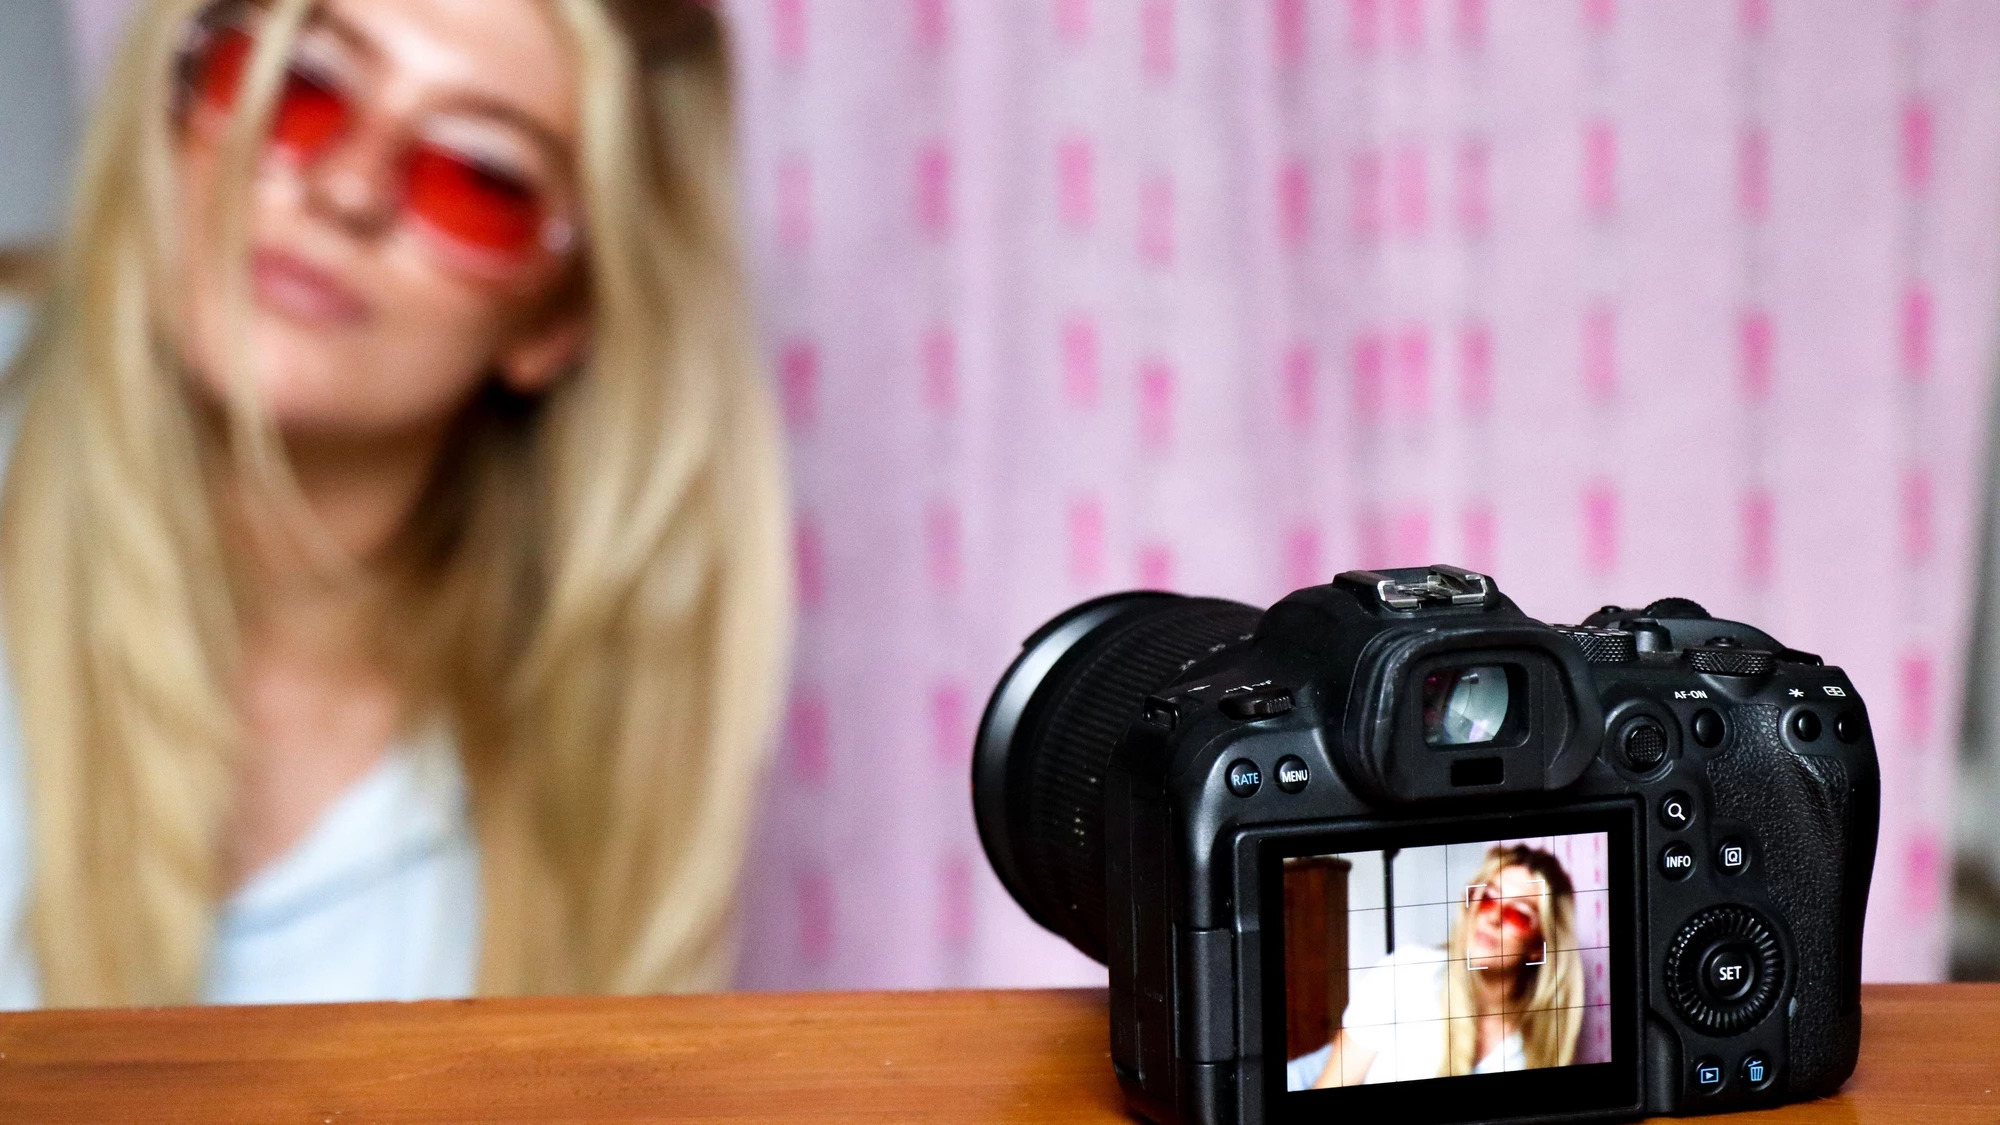
Like any photographic technique, light painting can require some practice. It’s helpful to plan prospective shots before sundown, so you can see which compositions will work best. When it gets dark, put your camera on a tripod and switch to Live View mode so that you can preview the shot on the rear LCD screen.
Different environments can give an alternative look and feel to light paintings. If you use a relatively short exposure time of around 10 seconds with a dark background, it’ll tend to stay dark in the final image, giving all the attention to the shapes you create with your lamp. A longer exposure with a night-time cityscape or other illuminated backdrops can add context to the composition and give a sense of place and space.
It’s good practice not to touch your camera when taking long exposures – even if it’s mounted on a tripod – to avoid blurriness in the image caused by vibrations.
How should you set up your camera?
For many night shots, a wide aperture with a small f/number and a high ISO setting are preferable, so you can freeze any motion with a fast shutter speed. When painting with light, the opposite applies because movement is the key factor you want to capture.
Select the Manual (M) shooting mode on your camera and use a low ISO of around 100 to 200. Dial in a narrow aperture of around f/11 and set the shutter speed somewhere between 10 and 30 seconds, depending on how much time you need to create your light painting.
You’ll also need to set the focus distance manually, so select MF mode. Pre-focus on the area in which you’re going to be using the lamp to create the painting. On many cameras, you can also enable Manual Focus Peaking (MF Peaking), a visual aid to show which parts of the image are in sharpest focus.
A good creative tip is to manually select your white balance setting. For example, using Daylight, Cloudy, Shade or Tungsten settings will effectively alter the colour temperature of the light, giving a progressively warmer or cooler effect. If it’s available in your camera, shoot in RAW quality mode which enables you to change the white balance setting when processing the image in editing software such as Canon Digital Photo Professional.
Start simple by using the camera settings that we’ve suggested and use a torch or the light from your smartphone to create basic shapes or maybe even write your name in light. You might find that you need to use a shorter or longer exposure, or a wider or narrower aperture, to get the effect that you want. Experiment with settings and you’ll soon get a feel for what works best.
What subject and light source to choose?
Use your garden as a place to practice and compose a shot of flowers, trees or any other picturesque plants. If you want to get creative, try using coloured plastic cups or tissue paper taped to a torch to make a light wand that you can wave during exposures to create colourful streaks and shapes.
Shine a torch on the main subject and autofocus on it. Once that’s done, switch to MF mode so that the focus distance is locked in place. If you need the exposure to last for more than 30 seconds, select the Bulb exposure mode, if featured on your camera.
Start the exposure and begin waving your torch or other light source around the scene. Colourful festive fairy lights can add a creative flourish. It can work well to wave these or another light source behind objects so that they appear as silhouettes. If you want to add extra light to a particular part of the scene, simply point the torch at it for a few seconds, before moving on to flowerbeds and other areas to create a colourful backdrop.
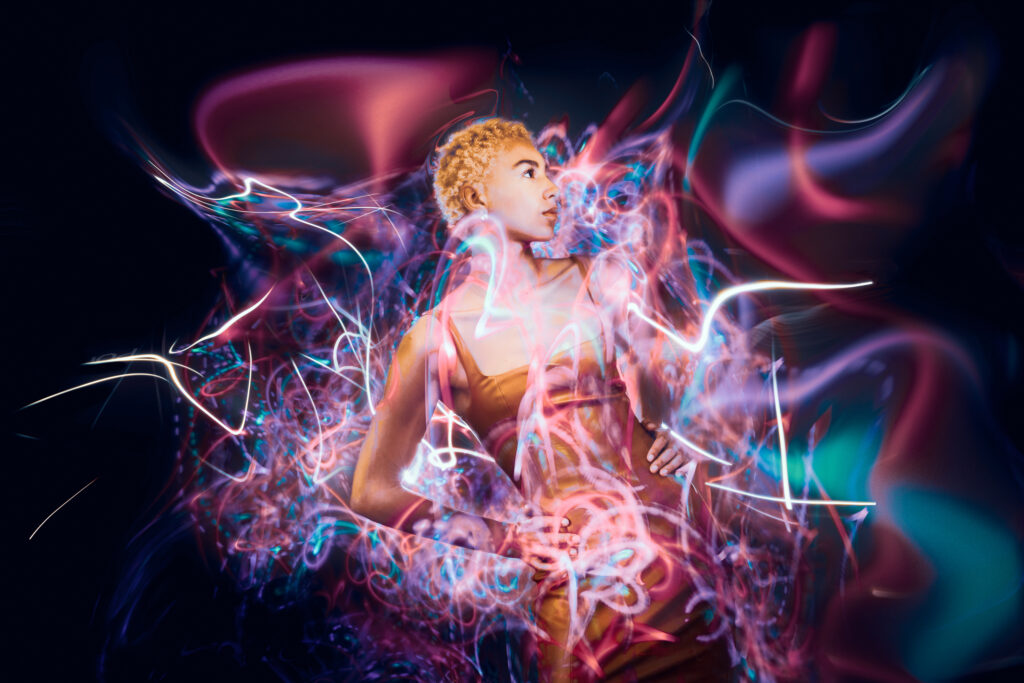
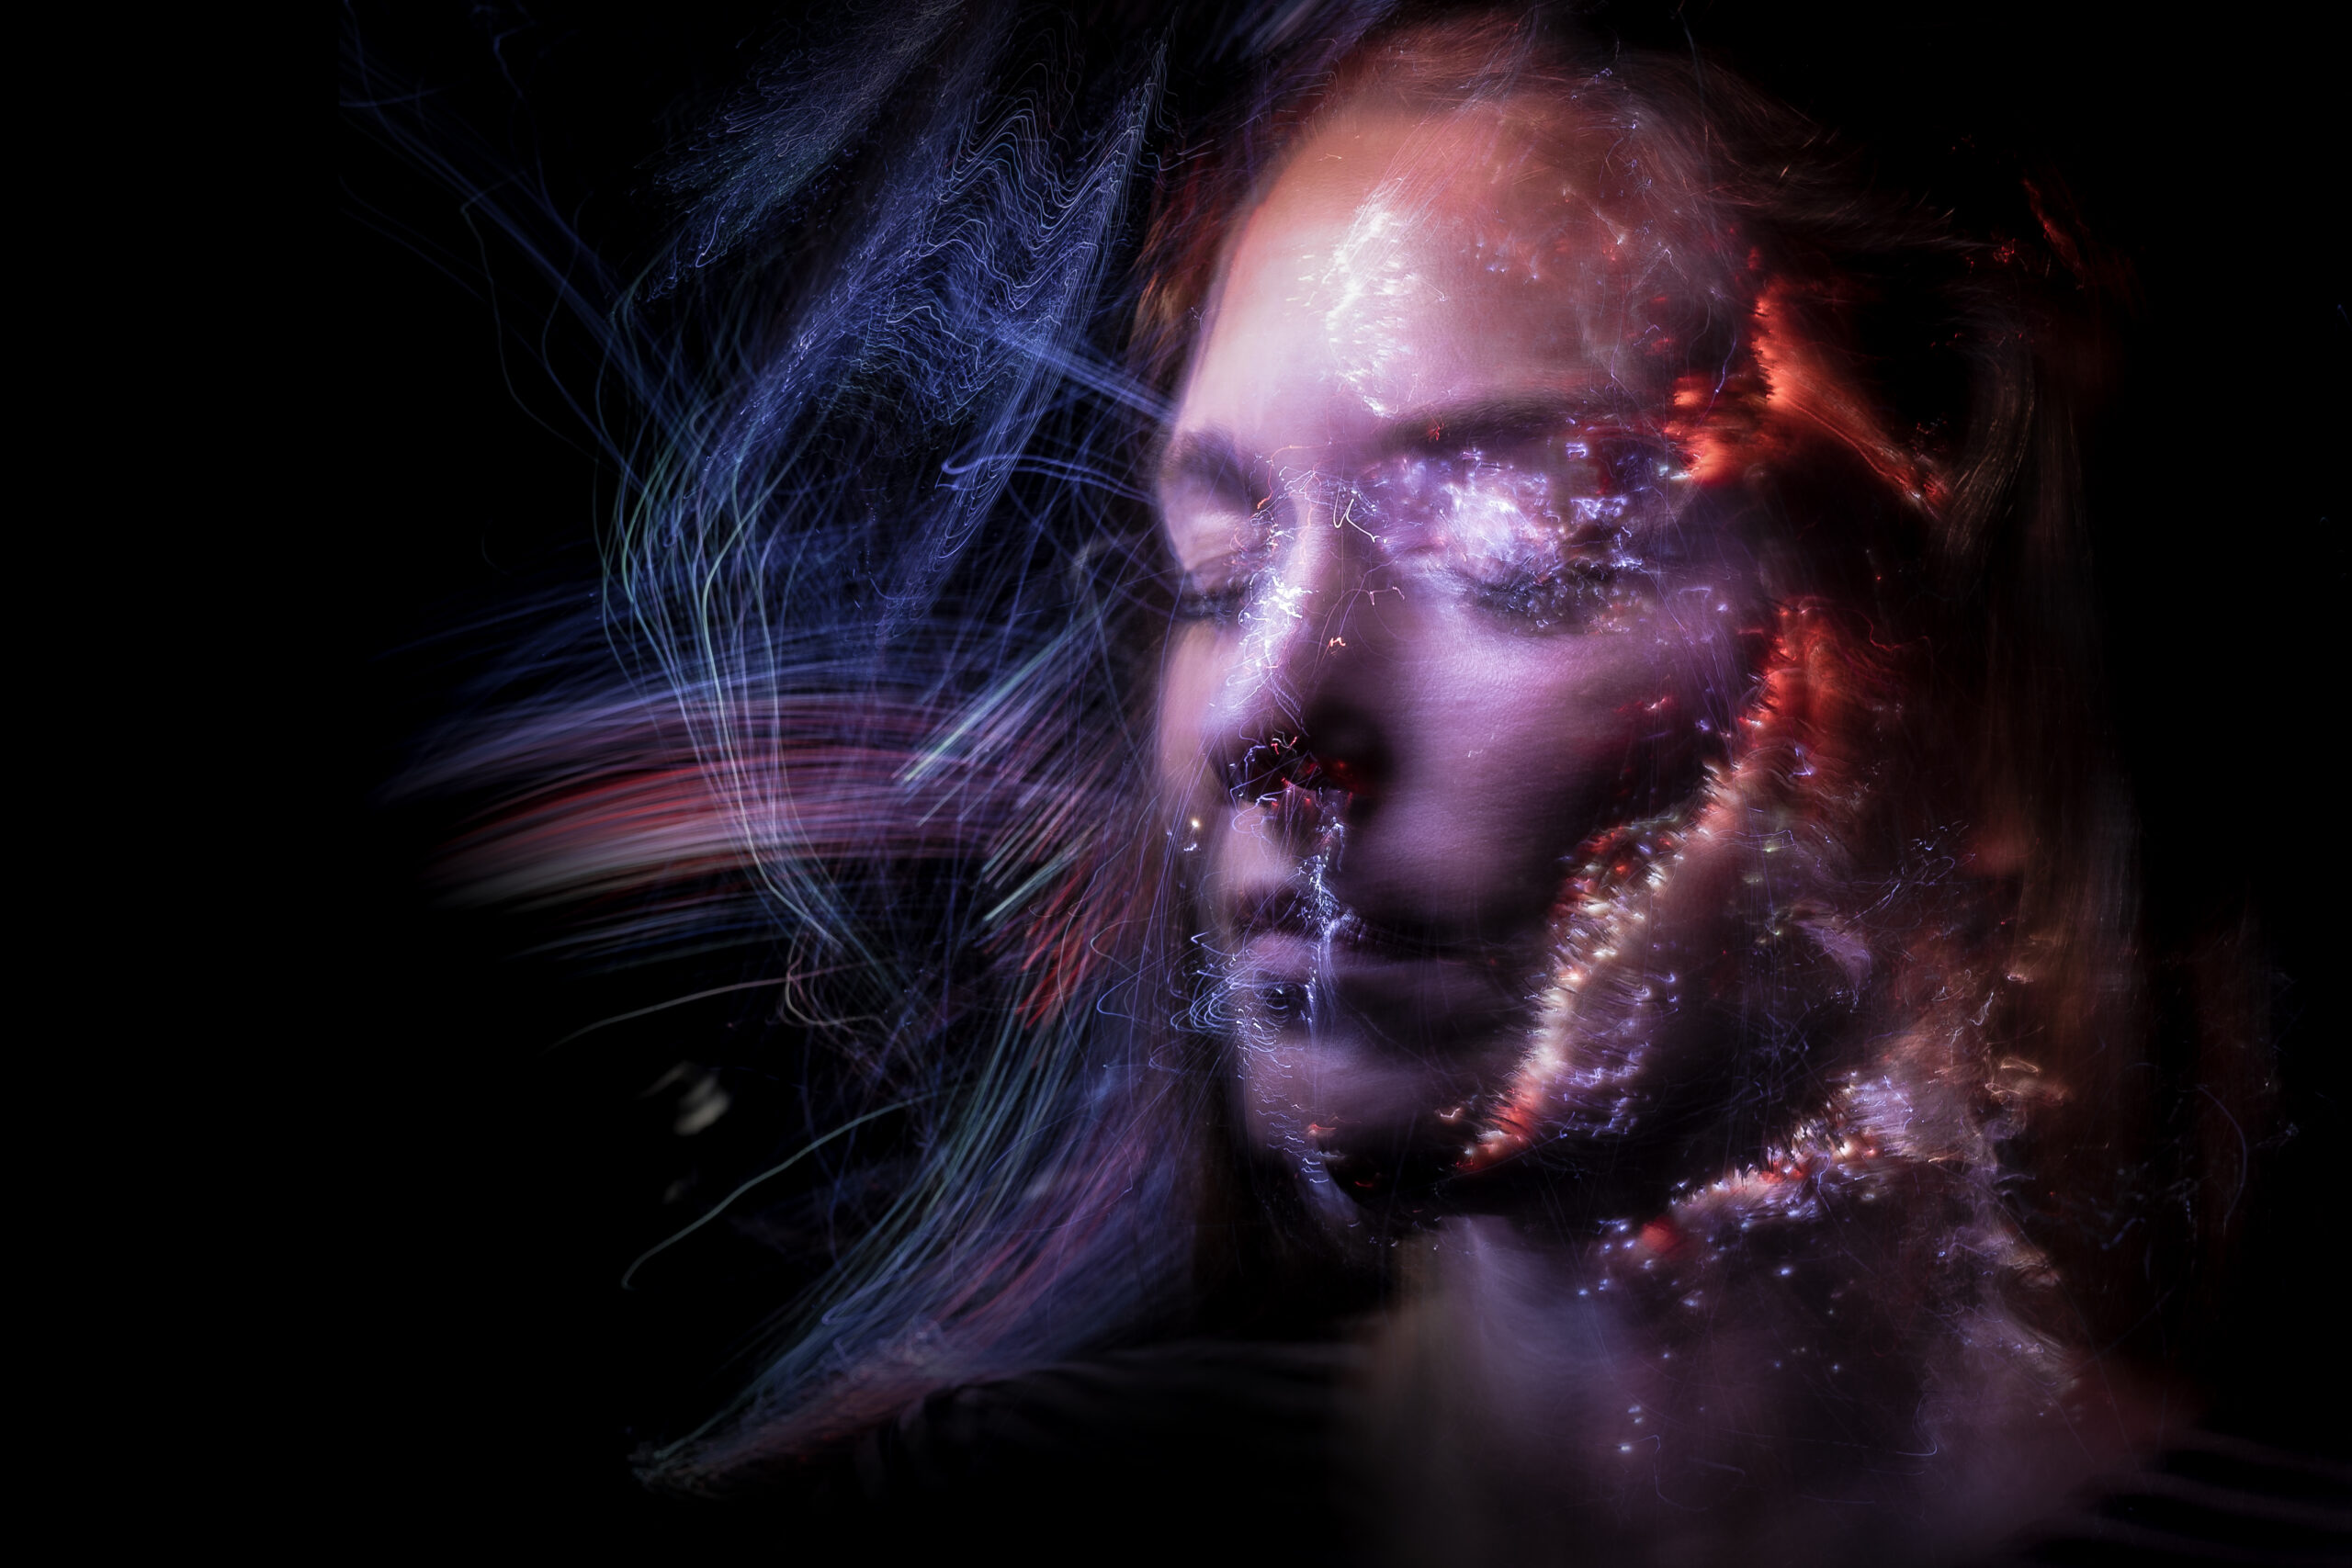
Combining light painting with creative portraiture has become very popular on social media. Taken on a Canon EOS R6 with a Canon RF 24-105mm F4-7.1 IS STM lens at 44mm, 13 sec, f/16 and ISO100.
Sometimes less is more. Using a very bright torch can seem like a good idea but more subtle light sources often work better. Powerful lights shone directly at a lens can cause flare, whereas torches with a lower intensity will avoid the risk. LED tea lights and multi-coloured LEDs can also work really well, and flashing LEDs produces an alternative effect of intermittent dashes.
It can be fun to get friends and family involved, so they can each use torches to bathe areas of interest in additional light. A single torch needn’t cover a complete object, as you can move it around during the exposure to paint light onto different areas selectively. This can work really well for illuminating points of interest in night-time landscapes.
Additional torches and other light sources can be good for putting yourself or other people in the picture. You could also try writing words or painting shapes such as stars and hearts. Another option is to combine a long exposure with a short pulse of light from a Canon Speedlite, so you can get a correct exposure for a portrait or other foreground subject, while also freezing its movement, yet still be able to create light paintings through the rest of the exposure. When you’re taking photos for fun, light painting can be an enjoyable way of expressing your creativity. It doesn’t demand expensive cameras, lenses, and accessories. All it needs is just a little time to learn the basics. You’ll soon find that you’re making highly distinctive images with a truly unique look and feel.


